React Native Tutorial
- React Native Tutorial
- React Native Environment Setups
- React Native First Application Hello World
- React Native View
- React Native State
- React Native Props
- React Native Style
- React Native Height and Width
- React Native Button
- React Native Layout and Flexbox
- React Native Positioning Element with Flex
- React Native ScrollView
- React Native ListView
- React Native FlatList
- React Native SectionList
- React Native Touchables
- React Native Text Input
- React Native ActivityIndicator
- React Native Picker
- React Native StatusBar
- React Native Switch
- React Native WebView
- React Native ProgressBarAndroid
- React Native ProgressBar With Animated
Navigation
- React Native Navigation
- React Native Configuring Header Bar
- React Native Moving Between Screens
- React Native Passing Value between Screen
- React Native Tab Navigation
- React Native Adding Icons at the Bottom of Tab Navigation
- React Native Create Material Bottom Tab Navigator
- React Native Top Tab Navigator
- React Native Drawer Navigation
Storage
React Misc
- React Native Google Map
- React Native Modal
- React Native Vector Icons
- React Native Splash Screen
- React Native vs. Ionic
- React Native vs. Xamarin
- React Native vs Flutter
- React Native vs React
- React Native vs Swift
- Box shadow in React Native
- React Native IAP
- React-Native Localization
- React Native Toast
- React Native Sound
React Native Environment Setups
There is a different alternative for React Native environment setup (installation), depends upon the operating system you use.
The instructions are quite different for each development and target operating system.
In this tutorial, we will use Windows as a development operating system and Android as a target operating system.
Developing app using React Native framework requires Node, React Native command line interface, Python2, JDK, and Android Studio.
PauseNext
Unmute
Current Time 0:00
/
Duration 18:10
Loaded: 0.73%
Â
Fullscreen
Here, we are using a favorite package manager Chocolatey for Windows. Using this, we can install a recent version of Python, and Java SE Development Kit (JDK).
Steps to Setup React Native Environment
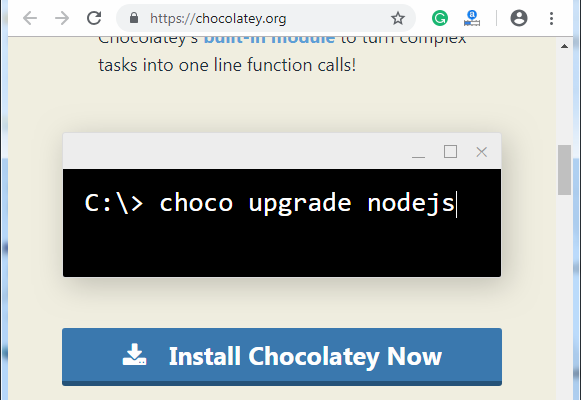
2. Install chocolatey setup, copy the code provided in Install with cmd.exe section.

3. Open your Command Prompt in Administrative mode (right-click Command Prompt and select "Run as Administrator"), paste this code and click enter. It will install Chocolatey.
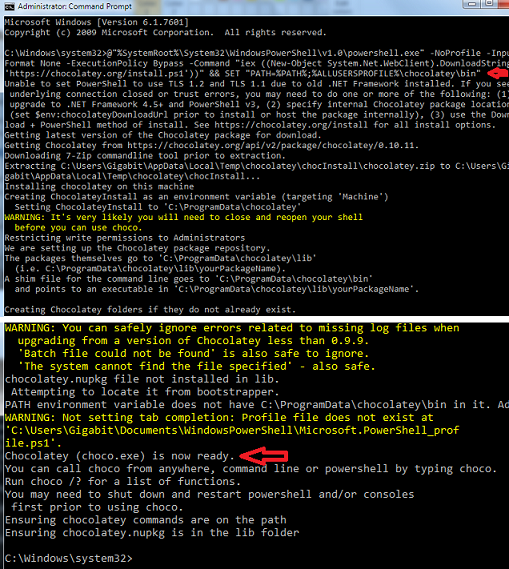
4. In the Administrative mode of command prompt, paste the code and run it (install Node.js, Python, and JDK).
If you have already installed Node.js, make sure it has version above 8 and if you have already installed JDK, make it version 8 or newer version.

5. Node comes with npm (Node Package Manager), which lets you install the React Native. Run the given code:

Setup Android Studio
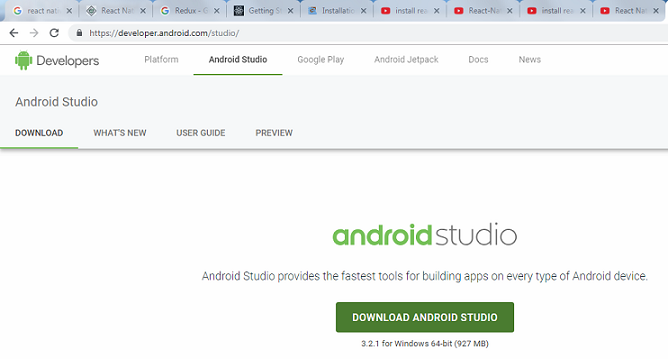
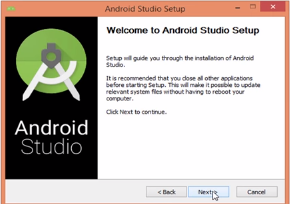
2. Run the downloaded android studio set (.exe) file and follow the instruction.
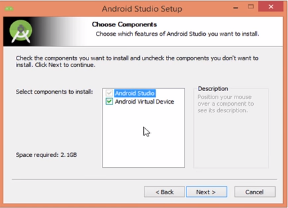
3. Choose the feature you want to install.
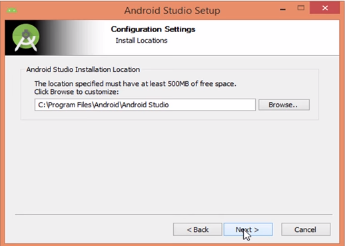
4. Select the installation location.
5. Let the installation proceed and click Next.
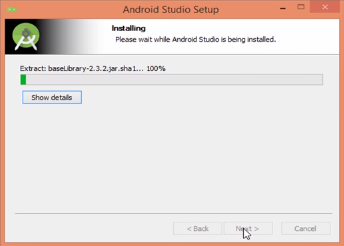
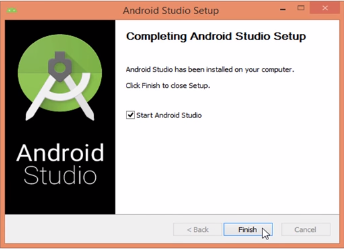
6. Click Finish to complete the installation.
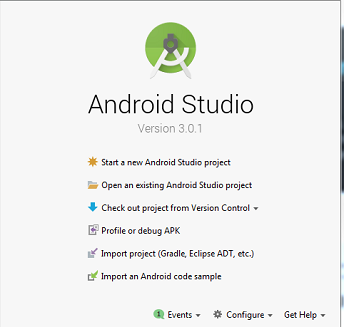
After successful installation, the Android Studio home screen will appear.
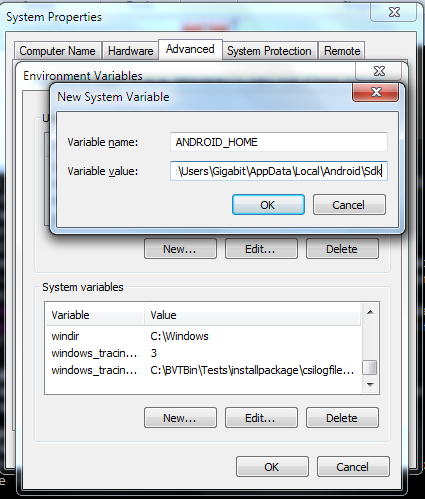
Setup Java JDK and Android SDK path
1. Visit How to set path in Java to set JDK path.
3. Install the required components, go to Tools Android > SDK Manager > SDK platforms and select the required components and install.
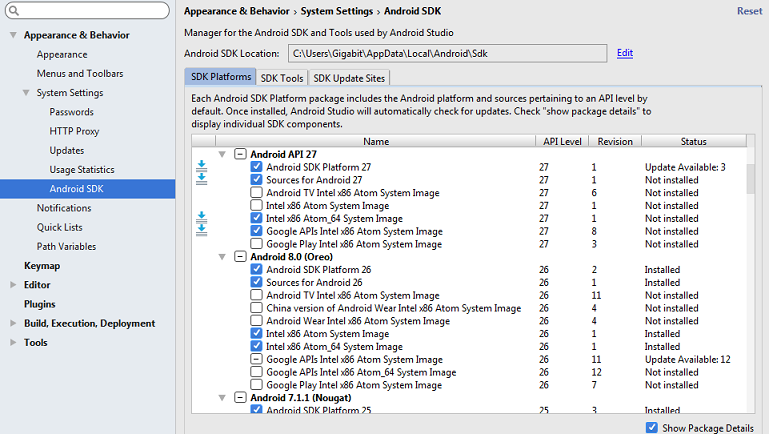
4. Let the installation proceed and after successfully installation, click Finish.
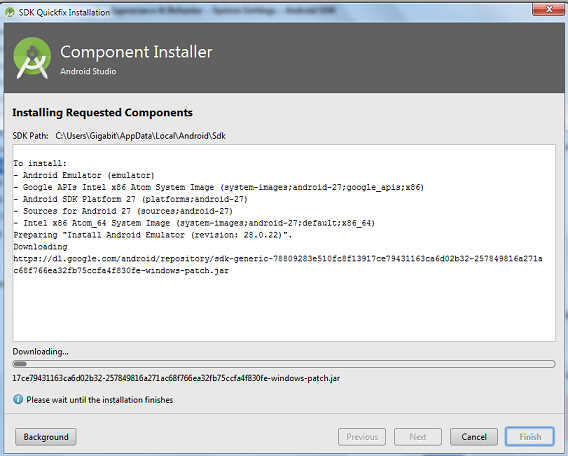
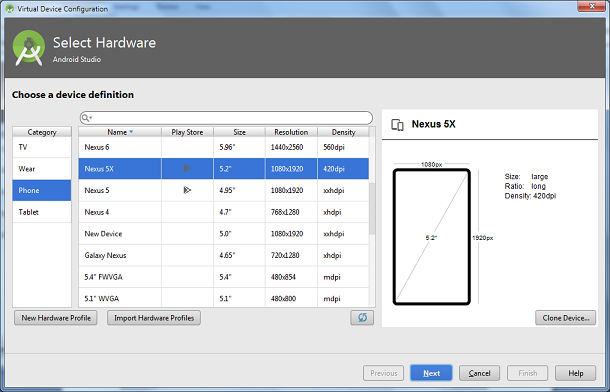
5. Create Android Emulator, a virtual Android Device, go to Tools > Android > AVD Manager > Create Virtual Device... SDK platforms and select the device type.
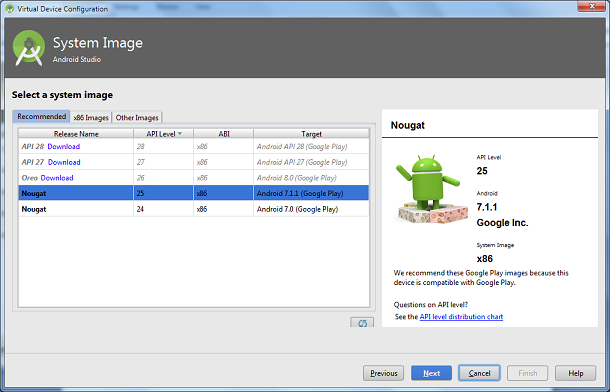
6. Select API level of Android Emulator.
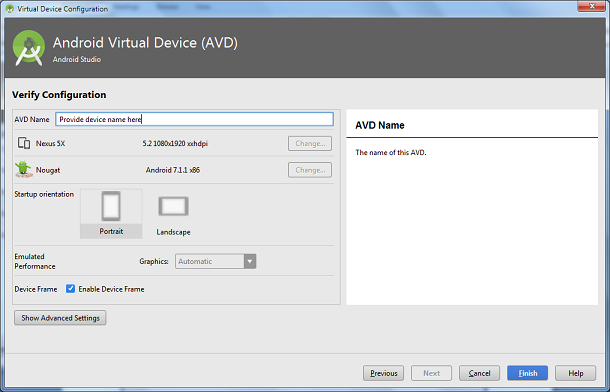
7. Provide device name and set properties by clicking Show Advance Settings.
8. Launch the Emulator.
