Storage Services
EC2 - Backbone of AWS
AWS Route53
Database Services
Application Services
AWS VPC
- What is VPC
- Creating your own custom VPC
- Direct Connect
- NAT Gateways
- What is a Bastion Host
- VPC Endpoint
- What is a VPC FlowLog
- NACL
- What is a Security Group
- Why do we need a Data Pipeline
- AWS Lightsail
- Amazon SES
- AWS CloudFormation
- What is AWS CLI
- What is Amazon EMR
- Amazon Relational Database Service(Amazon RDS)
- AWS Athena
- What is AWS Amplify
- Amazon Cognito
- What is AWS Console
AWS Interview Questions
NACL
- NACL stands for Network Access Control Lists.
- It is a security layer for your VPC that controls the traffic in and out of one or more subnets.
- It is an optional layer for your VPC.
- You can set up a Network ACL similar to the security group that adds an additional layer of security to your VPC.
Some important related to Network ACL:
- Your custom VPC automatically comes with the default Network ACL which includes all inbound and outbound ipv4 traffic.
- You can also create a custom network ACL and associates with a subnet. By default, a custom Network ACL denies all the inbound and outbound ipv4 traffic until you add rules.
- If you do not explicitly create Network ACL, then the default Network ACL automatically associated with the subnet.
- You can associate multiple subnets with a Network ACL. However, a subnet can be associated with the single Network ACL at a time.
- Network ACL is associated with both inbound and outbound rules that can either deny or allow the rules.
- A Network ACL contains numbered lists of rules that are evaluated in order, starting from the lowest numbered rule, to determine whether the traffic goes in or out of the subnet associated with the Network ACL. The highest numbered rule can be 32766. It is recommended to create new rules with increments (For example, increments of 10 or 100) so that you can easily add new rules where you need later on.
Network ACL Components
The following are the components of a Network ACL:
- Rule number: Rule number is a number associated with every rule. Rules are evaluated starting with the lowest-numbered rule. As soon as the rule matches traffic, the rule is applied regardless of whether the highest-numbered rule contradicts to it.
- Protocol: You can specify any protocol that has a standard protocol number. For example, Http, Https, ICMP, SSH, etc.
- Inbound rules: It specifies the source of the traffic and the destination port.
- Outbound rules: It specifies the destination traffic and destination port.
Types of Network ACL
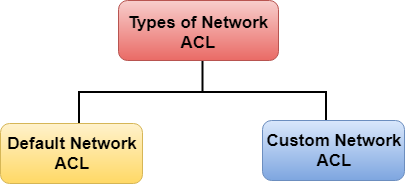
There are two types of Network ACL:
- Custom Network ACL
- Default Network ACL
Default Network ACL
The default Network ACL allows all the traffic to flow in or out of the subnet which is associated with it. Each Network ACL also includes a rule whose rule number is asterisk which determines if traffic does not match any of the numbered rules, then it is denied. This rule cannot be modified or removed.
| Rule # | Type | Protocol | Port range | Source | Allow/Deny |
|---|---|---|---|---|---|
| 100 | All Traffic | ALL | ALL | 0.0.0.0/0 | Allow |
| 101 | All Traffic | ALL | ALL | ::/0 | Allow |
| * | All Traffic | ALL | ALL | 0.0.0.0/0 | Deny |
| * | All Traffic | ALL | ALL | ::/0 | Deny |
The above table is a default Network ACL table which is associated with a subnet. Rule number 100 says that all IPv4 traffic is allowed. Rule number 101 says that all IPv6 traffic is allowed. The rule number '*' says that all the traffiic is denied
Custom Network ACL
Custom Network ACL is a user-defined Network ACL, and by default, it denies all the inbound and outboud traffic until you add rules.
| Rule # | Type | Protocol | Port range | Source | Allow/Deny |
|---|---|---|---|---|---|
| * | All Traffic | ALL | ALL | 0.0.0.0/0 | Deny |
| * | All Traffic | ALL | ALL | ::/0 | Deny |
The above table is a default table of Network ACL that denies all the traffic. You need to add the rule yourself to allow or deny the traffic.
Creating a Network ACL
- Sign in to the AWS Management Console.
- Move to the VPC service under the Networking and Content Delivery.
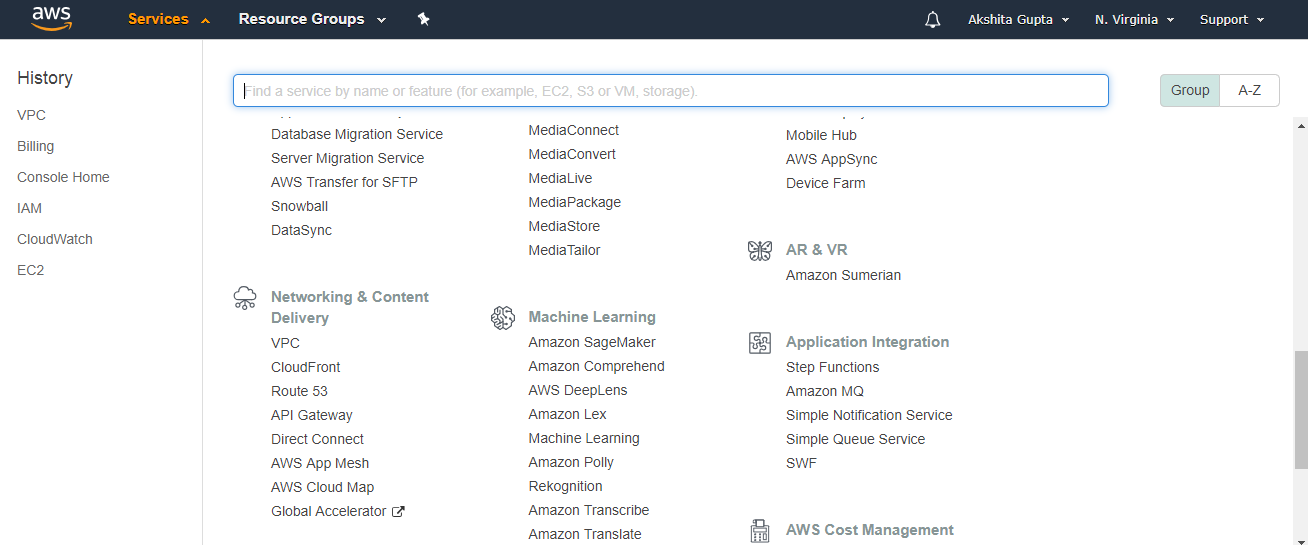
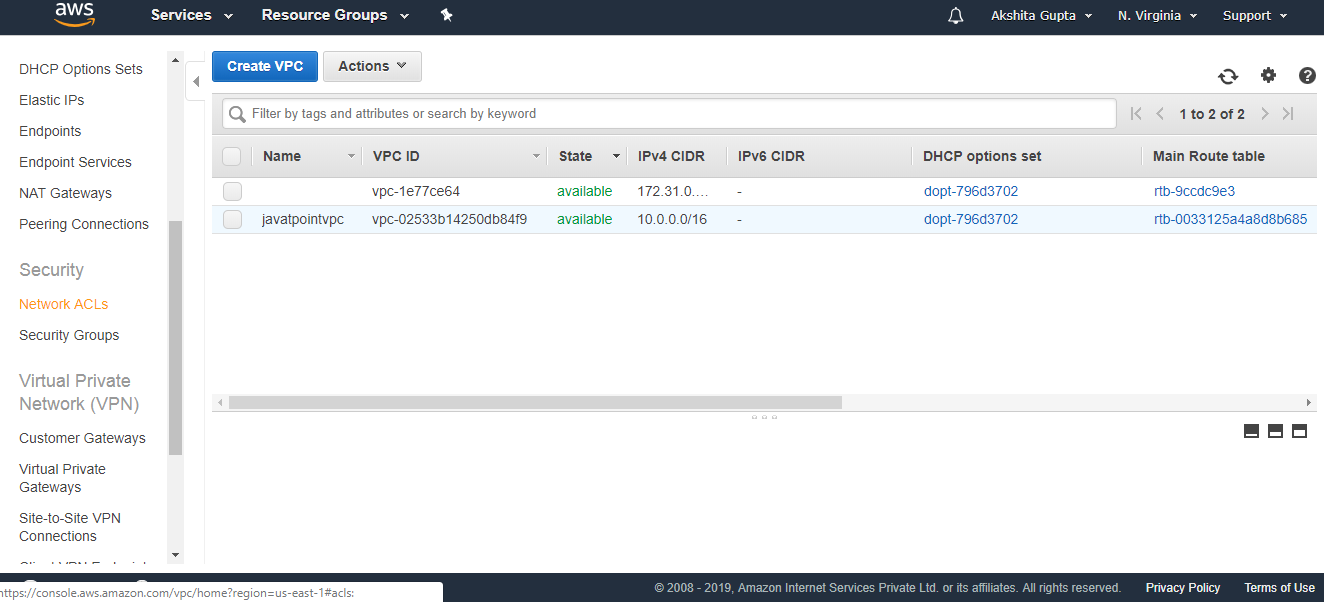
- Click on the Your VPCs appearing on the left side of the console.
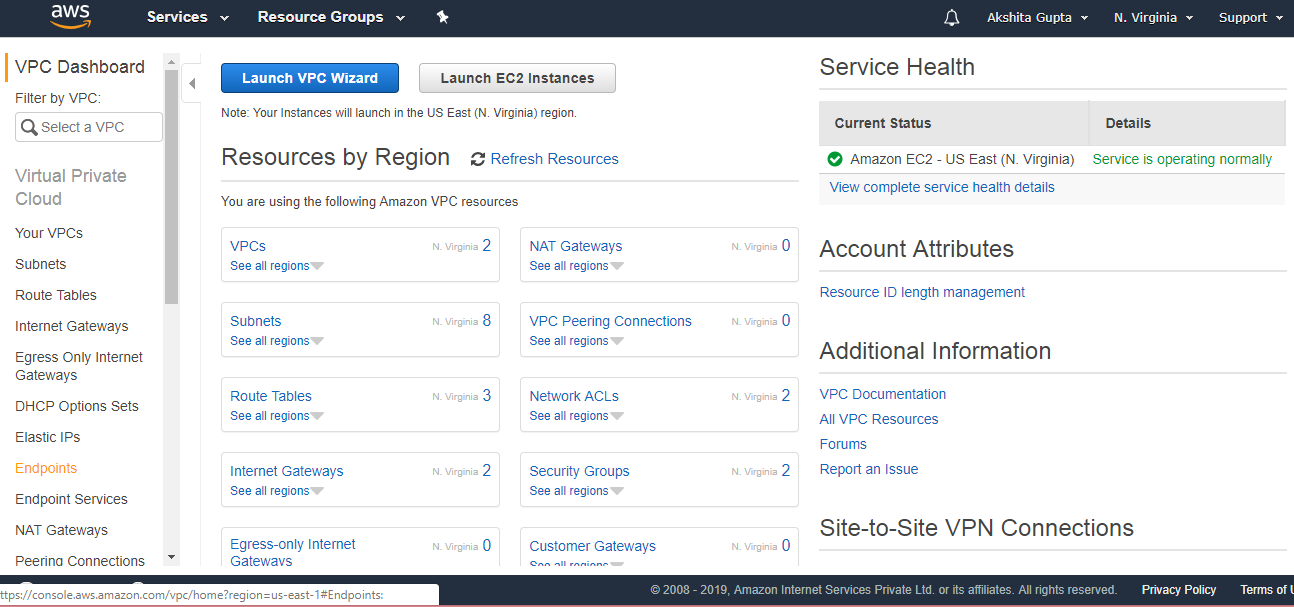
- In the previous topics, we have already created a custom VPC, and its name is javatpointvpc.
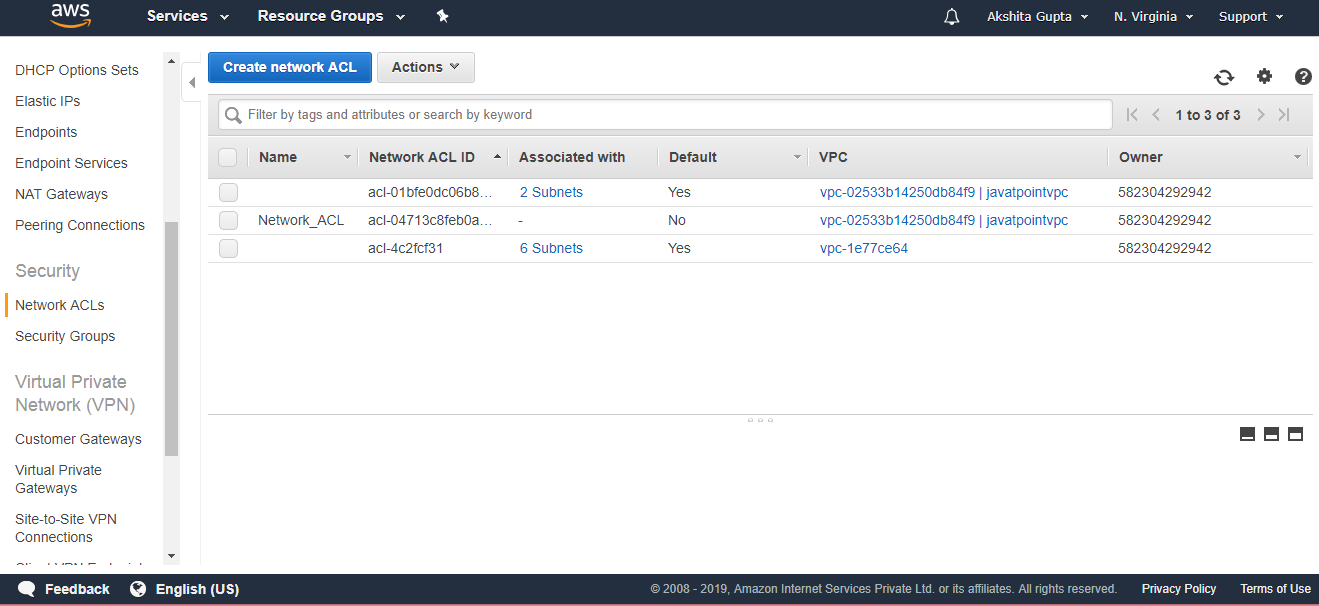
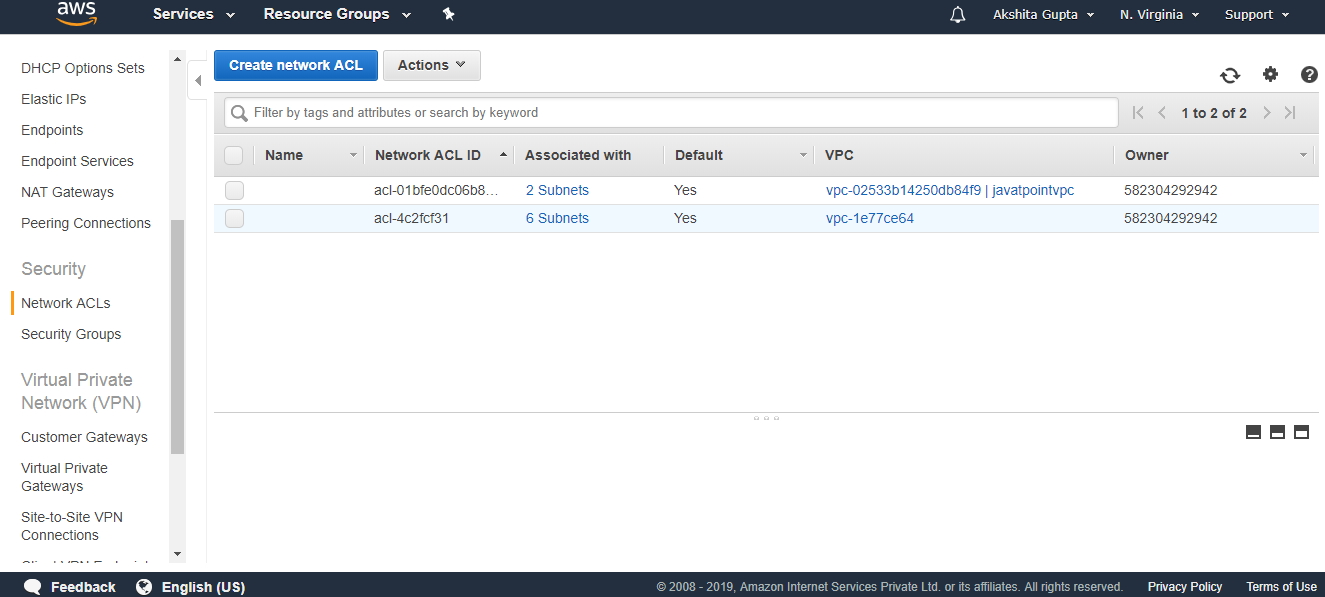
- Click on the Network ACLs appearing on the left side of the console.
- Click on the create Network ACL.
- Fill the following details to create a Network ACL.
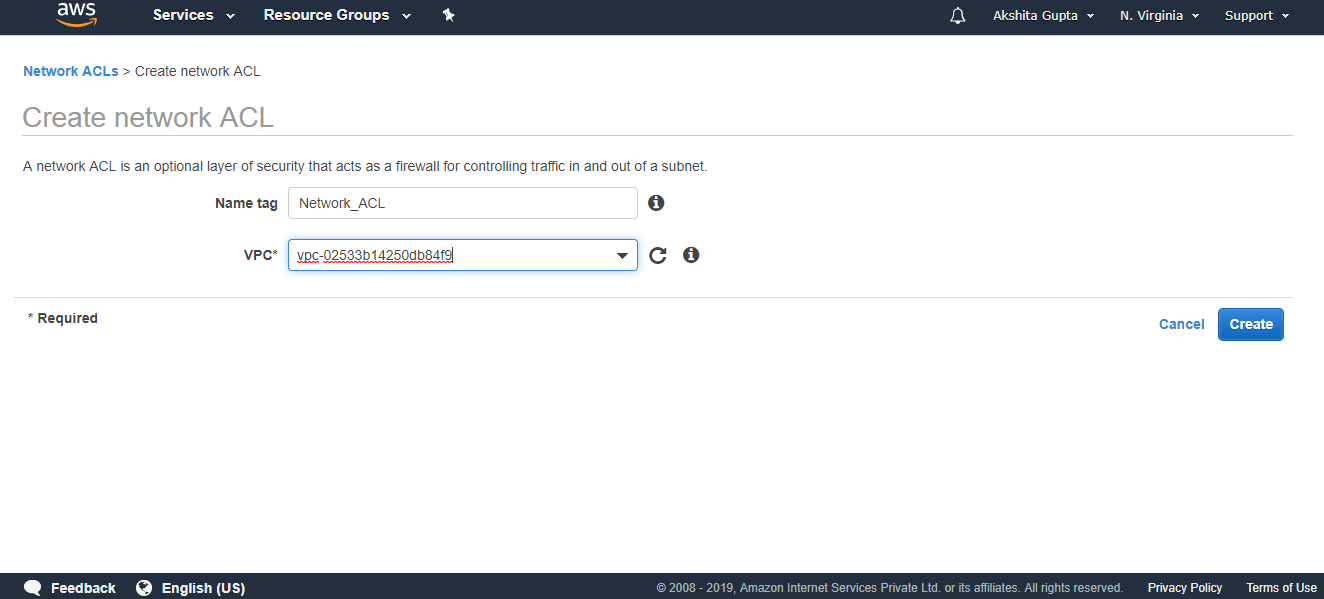
- The below screen shows that Network_ACL has been created.
