Internet of Things (IoT)
Architecture & Domains
IoT Platforms
IoT + Arduino
MCQ
controlling home light using WiFi
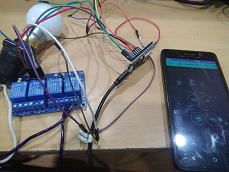
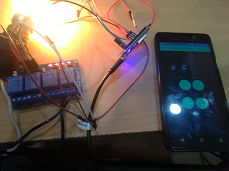
IoT project of controlling home light using WiFi Node MCU, and Relay module
In this project, we are going to build a home light controlling system using the Wi-Fi network or Internet (Mobile data). Using this project we are able to control our home light from anywhere in the world. In this project, we will use Wi-Fi Node MCU, 4 Channel Relay module, etc.
Hardware Requirements
- Wi-Fi Node MCU ESP8266
- Standard USB cable to connect Node MCU
- 4 Channel Relay module (5V)
- Jumper wires female to female
- Home Light (Bulb)
- Bulb holder
- Wire
- AC 220v/120v home appliances or 9v Hi-Walt Battery
Software requirements
- Arduino software
- Blynk app
Working principle of this project (Node MCU, Relay Module)
In this project, there are three main components used an Android Blynk app, Wi-Fi Node MCU and 4 Channel Relay module.

The Android Blynk app sends the serial data to the Wi-Fi Node MCU by clicking ON button. The Wi-Fi Node read the input data and process it according to program uploaded inside it and generate the output to 4 Chanel Relay Module.
When the Blynk app's button turns on, it turns ON the home light, and when the Blynk app's buttons turns OFF, it turns OFF the home light.
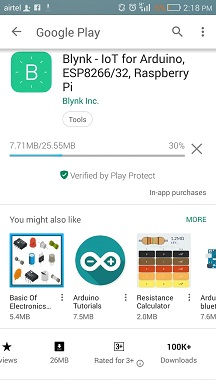
Download the Blynk application from play store and install it on your device.
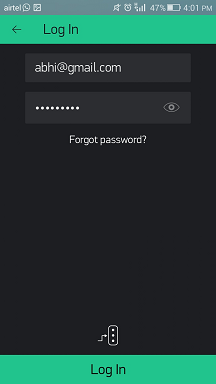
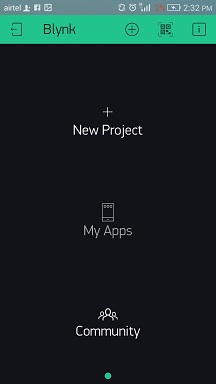
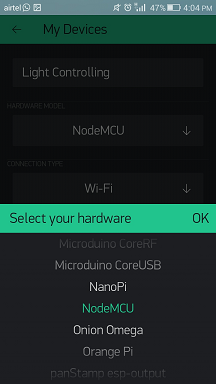
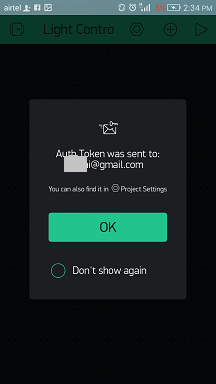
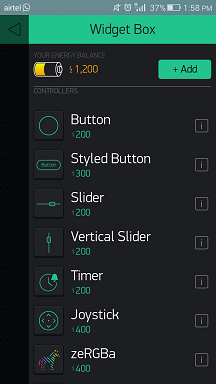
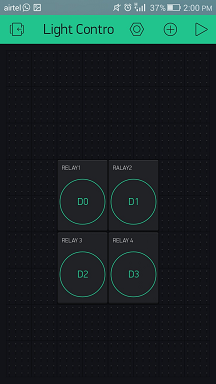
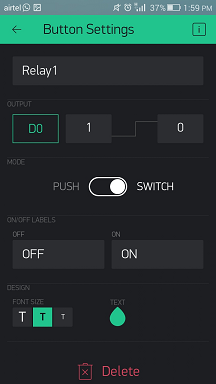
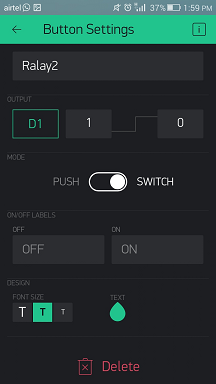
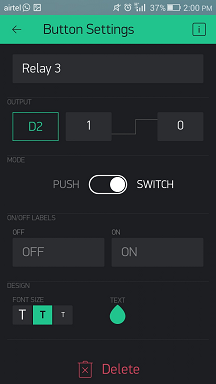
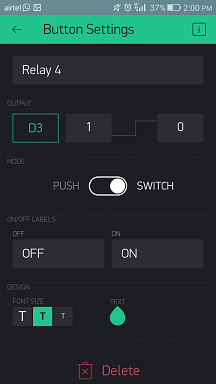
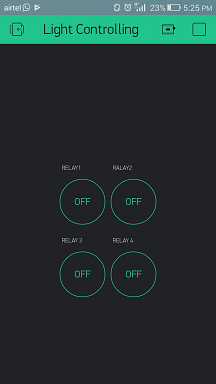
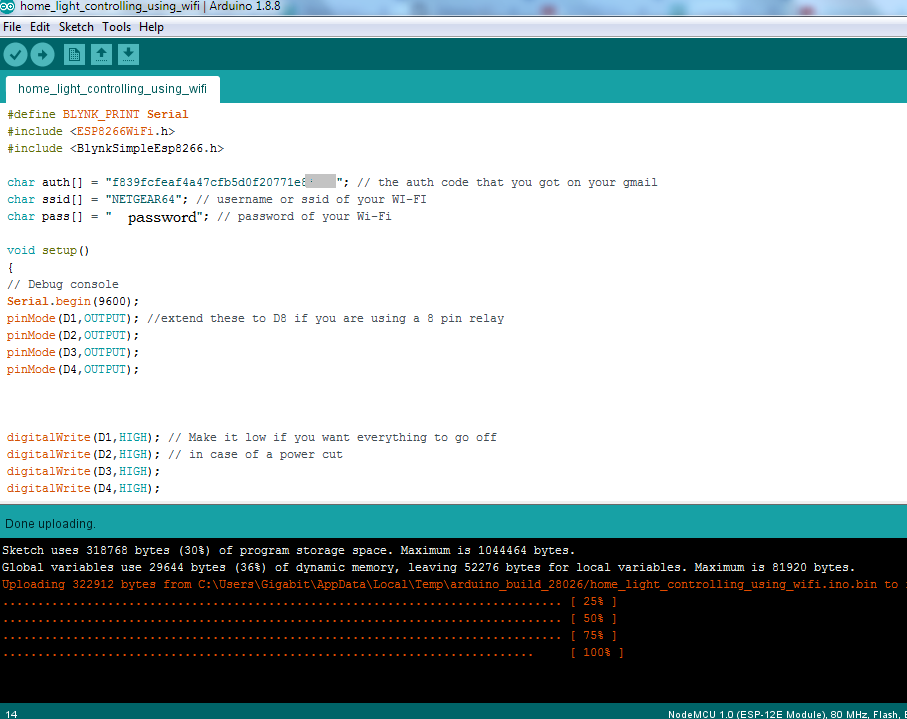
A program written on Arduino IDE to control the home light using WiFi Node MCU, 4 Chanel Relay Module:
#include
#include
char auth[] = "f839fcfeaf4a47cfb5d0f20771e8xxxx"; // the auth code that you got on your gmail and Blynk app
char ssid[] = "NETGEAR64"; // username or ssid of your WI-FI
char pass[] = "password"; // password of your Wi-Fi
void setup()
{
// Debug console
Serial.begin(9600);
pinMode(D1,OUTPUT); //extend these to D8 if you are using a 8 pin relay
pinMode(D2,OUTPUT);
pinMode(D3,OUTPUT);
pinMode(D4,OUTPUT);
digitalWrite(D1,HIGH); // Make it low if you want everything to go off
digitalWrite(D2,HIGH); // in case of a power cut
digitalWrite(D3,HIGH);
digitalWrite(D4,HIGH);
Blynk.begin(auth, ssid, pass);
}
void loop()
{
Blynk.run();
}
Add the board type to your Arduino IDE
Add the board type to your Arduino IDE if not added earlier before compiling. Go to File > Preferences > Settings and add http://arduino.esp8266.com/stable/package_esp8266com_index.json in Additional Boards Manager URLs and click OK.
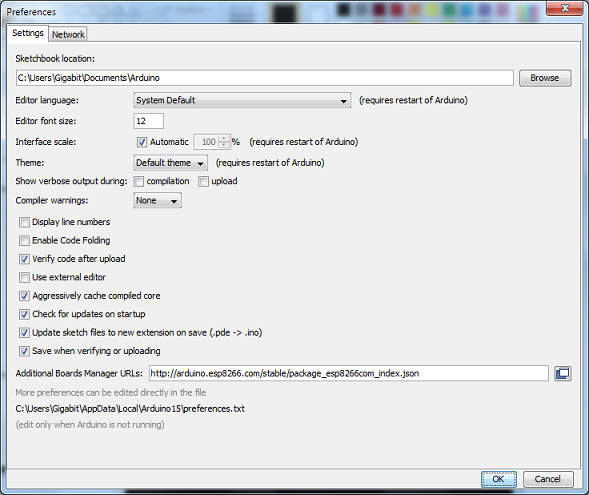
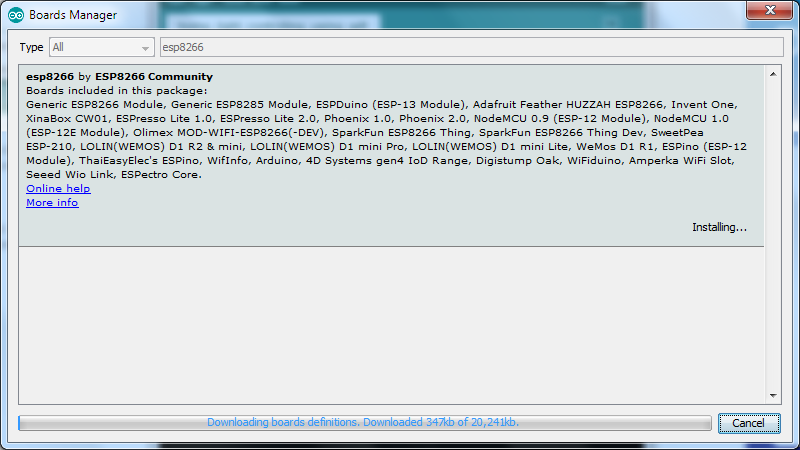
Include the esp8266 board community before compiling the above code otherwise, it generates an error.
To include library click Tools > Board > Board Manage...
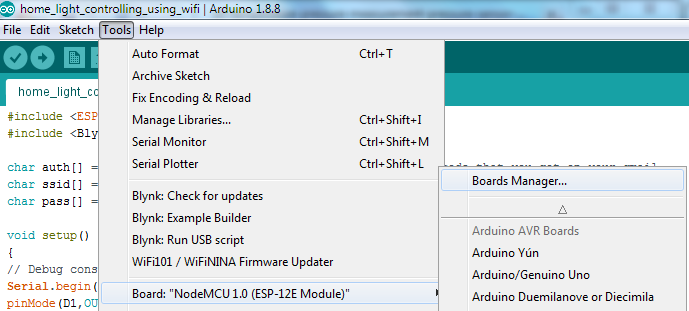
Search for esp8266 and install it.
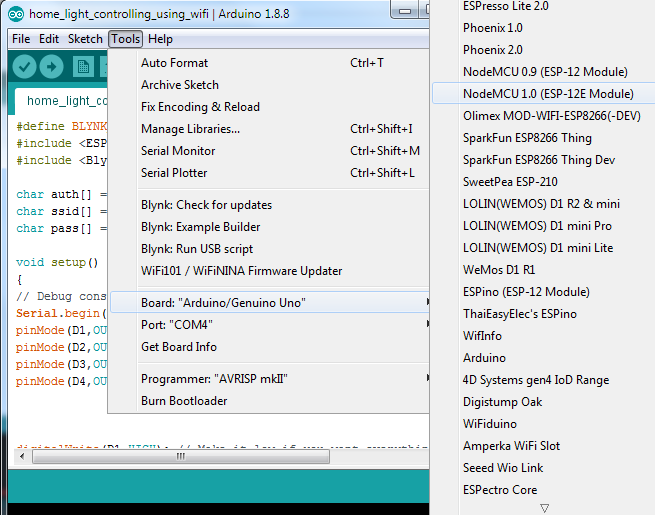
Select your board type
Now, select your board type, go to Tools > Board: > NodeMCU 1.0.
Add Libraries
Download the latest Blynk library from https://github.com/blynkkk/blynk-library/releases/latest and add it to program
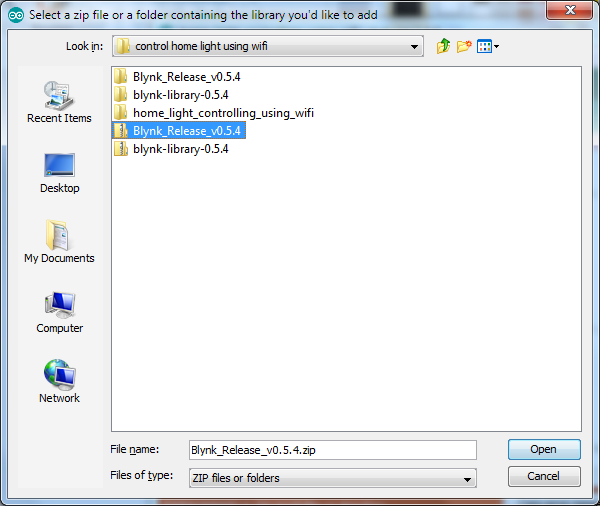
If the Blynk libraries are not able to be added in your program then, extract it and paste all the directories in Arduino libraries C:\Program Files (x86)\Arduino\libraries.
Now, connect Node MCU device with your personal computer using Standard USB cable to connect Node MCU and upload the program in it.
Digital circuit diagram
4 Channel Relay Module Node MCU
GND --------------------------------> GND
IN1 --------------------------------> D0
IN2 --------------------------------> D1
IN3 --------------------------------> D2
IN4 --------------------------------> D3
VCC --------------------------------> Vin
Connection between Relay Module, Bulb, and input power:
- Connect common-point (com) of Relay Module with home light.
- Connect normally-open (no) of Relay Module with power.
- Connect remaining one home light wire with the power source.
This project has operated using both Wi-Fi as well as Mobile data.
Output:
